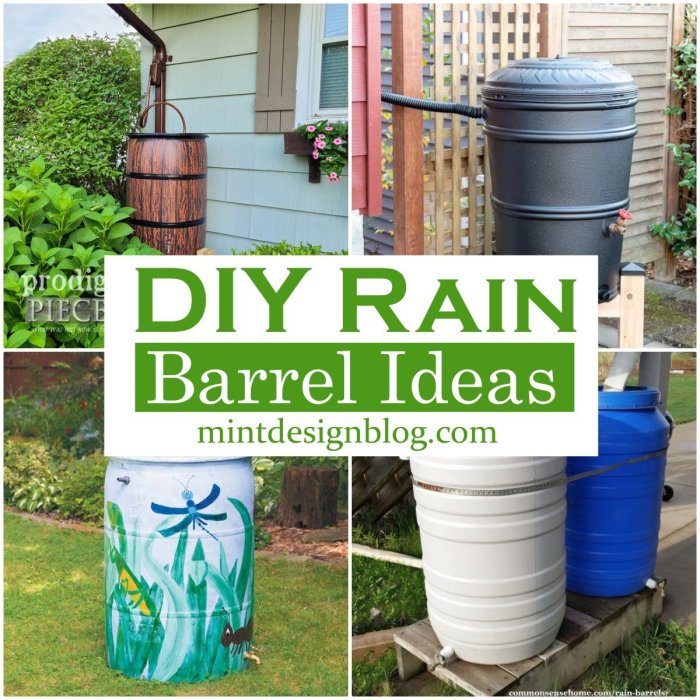
DIY rainwater barrel, a simple yet impactful solution for sustainable living, allows you to harness the power of nature and create a water-wise garden. By capturing rainwater, you can reduce your reliance on municipal water, conserve precious resources, and even save money on your water bill. This guide will walk you through the process of building your own rainwater barrel, from choosing the right materials to connecting it to your downspout.
Rainwater harvesting is not only environmentally friendly but also a rewarding experience. It allows you to connect with the natural world, appreciate the value of water, and contribute to a healthier planet. Whether you’re a seasoned gardener or just starting out, building a DIY rainwater barrel is a project that can benefit your home and your community.
Benefits of DIY Rainwater Barrels
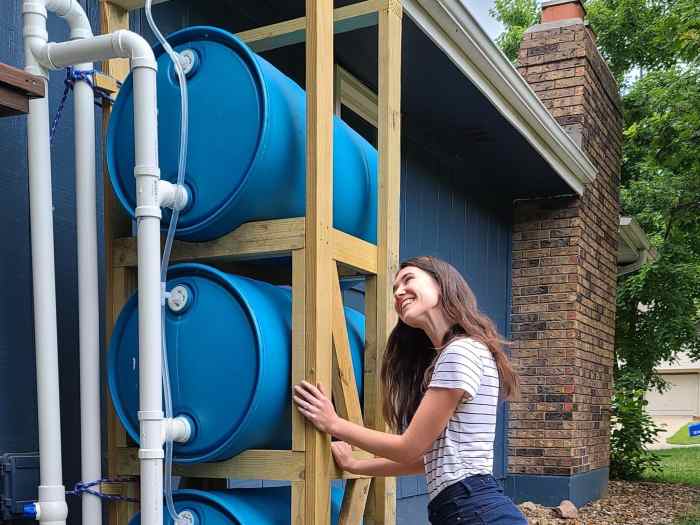
Building your own rainwater barrel is a rewarding project that not only saves you money but also benefits the environment. It’s a simple and sustainable way to collect and utilize this valuable resource for your garden.
Environmental Benefits of Rainwater Harvesting
Rainwater harvesting is a sustainable practice that helps conserve water resources and reduces strain on municipal water supplies. By collecting rainwater, you reduce the need to rely on treated water, which can be costly and energy-intensive to produce. Rainwater harvesting also helps to reduce runoff, which can lead to erosion and pollution of waterways.
Cost Savings with Rainwater for Gardening
Using rainwater for your garden can significantly reduce your water bill. Rainwater is naturally soft and free of chlorine and other chemicals that can harm plants. Additionally, you’ll be reducing your reliance on municipal water, which can fluctuate in price.
Maximizing Rainwater Collection
To make the most of your rainwater barrel, consider these tips for maximizing collection during different seasons:
- Install your barrel in a location that receives ample rainfall.
- Use a large-diameter downspout to increase the flow of water into the barrel.
- Ensure the barrel is properly sealed to prevent leaks.
- Clean your barrel regularly to remove debris and prevent mosquito breeding.
- During dry seasons, consider using a rain gauge to track rainfall and ensure you have enough water for your garden.
DIY Rainwater Barrel Construction
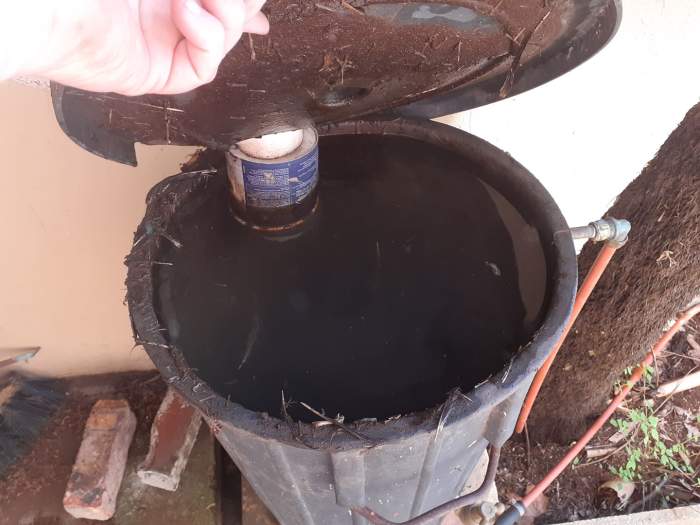
Constructing your own rainwater barrel is a straightforward project that can be completed with basic tools and materials. This section will guide you through the process, covering essential steps, techniques, and considerations for building a functional and visually appealing barrel.
Assembling the Barrel
The assembly process involves preparing the barrel, drilling holes, and installing fittings.
- Choose a Suitable Barrel: Select a food-grade plastic barrel with a tight-fitting lid. A 55-gallon barrel is a common choice, offering ample storage capacity. Ensure the barrel is clean and free of debris before starting.
- Drill Holes: Use a drill with a 1/2-inch drill bit to create holes for the inlet and outlet fittings. The inlet hole is typically located near the top of the barrel for collecting rainwater. The outlet hole should be positioned lower, near the bottom of the barrel, for easy access to water.
- Install Fittings: Insert the inlet and outlet fittings into the drilled holes. Use a sealant, such as silicone caulk, to ensure a watertight seal around the fittings. The inlet fitting will be connected to the downspout, while the outlet fitting can be used to attach a hose or watering can.
Sealing and Waterproofing
Proper sealing and waterproofing are crucial to prevent leaks and ensure the longevity of your rainwater barrel.
- Seal the Barrel: Apply a sealant, such as silicone caulk or waterproof tape, to any cracks, seams, or imperfections in the barrel. Pay particular attention to the areas around the fittings, lid, and bottom of the barrel.
- Waterproof the Fittings: Ensure that the fittings are securely attached and properly sealed to the barrel. Use a sealant, such as silicone caulk, to create a watertight bond between the fittings and the barrel.
- Inspect for Leaks: After assembling the barrel, fill it with water and inspect for leaks. If any leaks are detected, apply additional sealant to the affected area.
Customization, Diy rainwater barrel
Personalize your rainwater barrel with decorative elements or paint.
- Decorative Elements: Enhance the appearance of your barrel by adding decorative elements such as a weather vane, a birdhouse, or a small garden. These elements can add a touch of personality and charm to your rainwater barrel.
- Paint the Barrel: Paint the barrel with a weather-resistant paint to protect it from the elements and add a personal touch. Choose a color that complements your garden or landscape.
Maintenance and Care for Your Rainwater Barrel
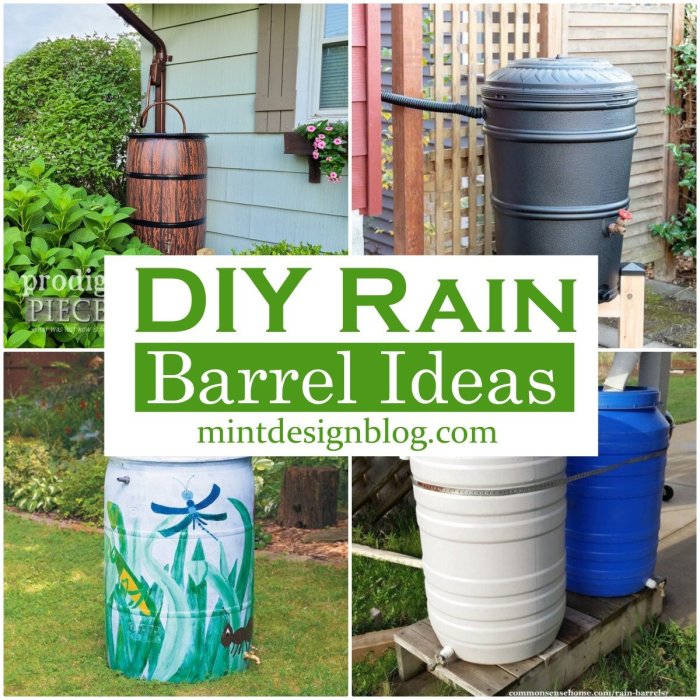
A little bit of maintenance goes a long way in keeping your rainwater barrel in tip-top shape and ensuring you have a steady supply of water for your garden. Here’s how to keep your barrel clean, healthy, and ready to collect rain:
Cleaning and Maintenance
Regular cleaning is essential to prevent the growth of algae, bacteria, and mosquitoes. Algae and bacteria can contaminate your water, making it unsafe for plants. Mosquitoes can breed in stagnant water, creating a nuisance and potentially spreading diseases.
- Clean your barrel at least once a year, preferably in the spring before the rainy season begins.
- Use a scrub brush and a mild soap solution to remove any debris, algae, or sediment. Avoid harsh chemicals that could contaminate your water.
- Rinse the barrel thoroughly with clean water to remove all traces of soap.
- Consider using a chlorine bleach solution (1/2 cup bleach per 5 gallons of water) to disinfect the barrel. Let the bleach solution sit for 30 minutes, then rinse thoroughly with clean water.
- Install a mosquito net or screen over the opening of your barrel to prevent mosquitoes from entering and breeding.
- Check your downspout regularly to ensure it is free of debris that could clog it and prevent rainwater from flowing into the barrel.
Inspecting for Leaks and Damage
Regular inspections can help you catch problems early, preventing leaks and potential damage.
- Visually inspect the barrel for cracks, holes, or other damage. Look for signs of rust or corrosion, which can weaken the barrel over time.
- Check the connections between the barrel and the downspout for leaks. Tighten any loose connections or replace damaged parts.
- If you notice any leaks, repair them promptly to prevent water loss and damage.
Winterizing Your Rainwater Barrel
In cold climates, it’s important to winterize your rainwater barrel to prevent freezing and damage.
- Empty the barrel completely before the first frost.
- Clean the barrel thoroughly to remove any remaining water or debris.
- Store the barrel upside down in a dry, protected location. This will prevent water from collecting inside and freezing.
- Alternatively, you can add antifreeze to the barrel before storing it. However, it’s essential to use a non-toxic antifreeze designed for water systems.
With a little planning and effort, you can create a DIY rainwater barrel that will provide you with a sustainable and reliable source of water for your garden. By taking advantage of this natural resource, you can contribute to a greener future while enjoying the benefits of a flourishing garden. Embrace the DIY spirit and let the rain nourish your plants and your commitment to environmental stewardship.
Creating a DIY rainwater barrel is a fantastic way to conserve water and help the environment. While you’re working on your DIY projects, maybe you’ll find inspiration for some fun costumes, like those found in the Harry Potter costumes DIY guide. After all, channeling your inner wizard can be just as rewarding as collecting rainwater for your garden!

