DIY pin cushion, a simple yet essential tool for any sewist, holds a history as rich as the fabrics it protects. From humble beginnings as a humble bundle of fabric to elaborate, personalized creations, pin cushions have evolved alongside the art of sewing itself. This guide explores the fascinating world of pin cushions, providing you with everything you need to create your own unique and functional companion for your sewing adventures.
Whether you’re a seasoned quilter or just starting out, a well-made pin cushion is a must-have. It keeps your needles organized, prevents accidental pricks, and adds a touch of personality to your sewing space. This comprehensive guide will walk you through the steps of creating a DIY pin cushion, from selecting materials to crafting unique designs, empowering you to make a pin cushion that reflects your style and needs.
Simple Pin Cushion Designs for Beginners
Sewing a pin cushion is a fun and easy project that can be a great way to personalize your sewing space. You can use a variety of fabrics and embellishments to create a pin cushion that reflects your style.
Circular Pin Cushion
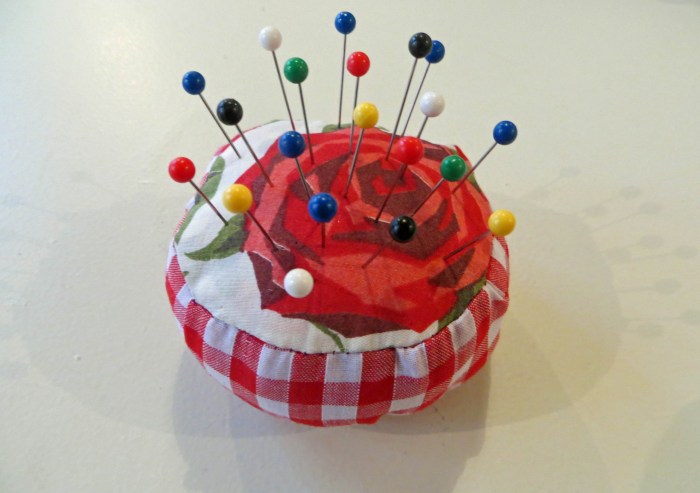
This simple design is a great starting point for beginners. You’ll need a piece of fabric, stuffing, and a needle and thread.
Here’s a step-by-step guide:
- Cut out two circles of fabric, using a plate or bowl as a template.
- Place the circles right sides together and sew around the edge, leaving a small opening for stuffing.
- Turn the cushion right side out and stuff it firmly.
- Close the opening with a slip stitch.
Square or Rectangular Pin Cushion
For a more modern look, you can sew a pin cushion with a square or rectangular shape.
Here’s how:
- Cut out two squares or rectangles of fabric, using a ruler and scissors.
- Place the squares right sides together and sew around the edge, leaving a small opening for stuffing.
- Turn the cushion right side out and stuff it firmly.
- Close the opening with a slip stitch.
Whimsical or Decorative Pin Cushion
You can create a unique pin cushion by using a whimsical or decorative shape.
Here are some ideas:
- Use a heart-shaped template to create a pin cushion that is perfect for Valentine’s Day.
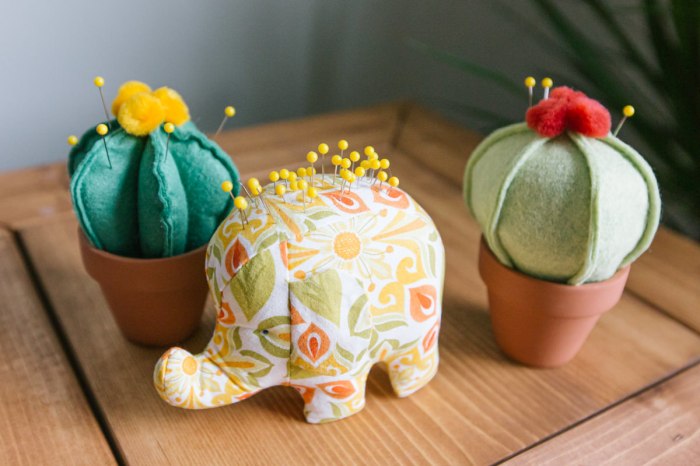
- Sew a pin cushion in the shape of a flower or animal.
- Use fabric scraps to create a patchwork pin cushion.
Pin Cushion Safety and Maintenance: Diy Pin Cushion
A pin cushion is more than just a cute accessory; it’s an essential tool for safe needle storage and organization. Using a pin cushion not only keeps your needles organized but also protects you and others from accidental needle pricks.
Safe Needle Handling Techniques
Handling needles and pins requires careful attention to avoid accidents. Here are some essential techniques:
- Always use a pin cushion to store needles and pins when not in use. This prevents them from rolling around and potentially causing injury.
- Never leave needles or pins unattended on a table or work surface. This is a common cause of accidents, especially when children or pets are present.
- When passing a needle or pin to someone else, hold it by the blunt end and ensure the sharp end is facing away from you and the recipient.
- Never try to catch a falling needle. Instead, let it fall to the ground and then carefully pick it up using a pair of tweezers.
Cleaning and Disinfecting a Pin Cushion
Regular cleaning and disinfection are crucial for maintaining hygiene and preventing the spread of germs.
- Clean your pin cushion regularly, especially after working with fabric scraps or materials that may harbor germs.
- To disinfect, use a mild disinfectant solution, such as a diluted bleach solution (1 part bleach to 9 parts water). Wipe the surface of the pin cushion thoroughly with a clean cloth soaked in the solution.
- Allow the pin cushion to air dry completely before using it again.
- If your pin cushion is made of fabric, consider washing it in a washing machine using a mild detergent and hot water.
Pin Cushion Storage and Display
Keeping your pin cushions organized and accessible is crucial for a smooth sewing workflow. A well-organized sewing space enhances efficiency and fosters creativity. This section explores practical ideas for storing and displaying pin cushions, ensuring your needles and pins are always within reach.
Pin Cushion Holders and Organizers
Pin cushion holders or organizers are indispensable tools for keeping needles and pins readily accessible. These holders can be as simple as a small dish or as elaborate as a tiered stand.
- Dish or Tray: A simple dish or tray provides a convenient and accessible storage solution for your pin cushion. Choose a dish that is sturdy and has a wide enough base to prevent tipping.
- Tiered Stand: A tiered stand offers a stylish and practical way to store multiple pin cushions. The tiers allow you to organize your pin cushions by size, type, or color, keeping them readily visible and easily accessible.
- Magnetic Pin Cushion Holder: Magnetic pin cushion holders are ideal for storing needles and pins securely. These holders can be mounted on a wall or placed on a desk, freeing up valuable workspace.
Visually Appealing Display
Displaying your pin cushions can add a touch of charm and personality to your sewing space. Here are some ideas for creating a visually appealing display:
- Group Similar Pin Cushions: Group pin cushions of similar styles or colors together to create a cohesive and eye-catching display. This could include vintage pin cushions, fabric-covered pin cushions, or pin cushions with unique embellishments.
- Arrange Pin Cushions by Function: Organize your pin cushions based on their intended use. For example, you could have a pin cushion for general sewing, a pin cushion for quilting, and a pin cushion for embroidery. This helps you quickly locate the right pin cushion for your project.
- Add Decorative Elements: Incorporate decorative elements to enhance the visual appeal of your pin cushion display. This could include vintage sewing notions, antique buttons, or fabric scraps. These elements add texture and visual interest to your sewing space.
Pin Cushion as a Gift Idea
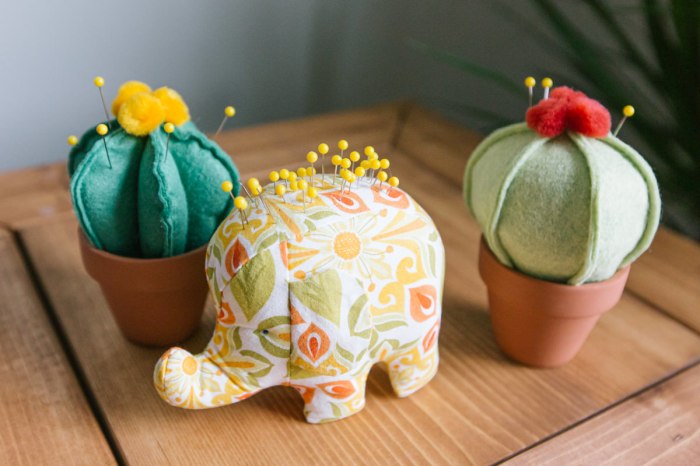
A homemade pin cushion is a thoughtful and practical gift for any sewist or crafter. It’s a small gesture that shows you care about their hobbies and want to help them create their best work. With a little creativity, you can easily personalize a pin cushion to make it extra special.
Personalizing Pin Cushions
There are many ways to personalize a pin cushion to make it a unique and thoughtful gift.
- Fabric Choices: Use fabrics that reflect the recipient’s interests or style. For example, you could use a fabric with their favorite pattern, a fabric from a special project they’ve worked on, or a fabric that matches their favorite color scheme.
- Embellishments: Add embellishments that add a personal touch. You could use buttons, ribbons, beads, or even embroidery to create a unique design. Consider adding a small charm or tag with the recipient’s name or initials.
- Themes: Create a pin cushion with a theme that reflects the recipient’s interests. For example, you could create a pin cushion shaped like a heart for a romantic sewist, or a pin cushion shaped like a flower for a nature lover.
Packaging and Presentation, Diy pin cushion
The way you package and present a pin cushion can also make it a more special gift.
- Gift Wrap: Wrap the pin cushion in a beautiful piece of fabric or paper. You can use a ribbon to tie it up or add a small tag with a personalized message.
- Gift Basket: Create a gift basket filled with sewing supplies, such as thread, needles, buttons, and other crafting materials. The pin cushion can be the centerpiece of the basket.
- Handmade Card: Make a handmade card to accompany the pin cushion. This will add a personal touch and show that you put extra effort into the gift.
The world of DIY pin cushions is as diverse as the fabrics and techniques available. From simple circular designs to intricate creations with embroidery and embellishments, there’s a pin cushion for every sewist. By understanding the basics of pin cushion construction and exploring creative ideas, you can create a personalized and functional tool that enhances your sewing experience. So, gather your materials, let your creativity flow, and embark on a rewarding journey of crafting your own DIY pin cushion.
A DIY pin cushion is a fun and practical project, especially if you’re into sewing or crafting. You can get creative with the design and materials, adding personal touches to make it truly unique. If you’re feeling adventurous, you might even try incorporating some elements from a Jason Voorhees costume DIY project, like a small machete or a hockey mask charm! Just remember, safety first – a pin cushion is meant for holding needles, not for scary props.

